Cooking chicken breast in an air fryer delivers consistently juicy results with minimal oil and cleanup. The convection heat creates a crisp exterior while maintaining moisture inside, turning what often becomes a dry, bland protein into a versatile dinner staple ready in under twenty minutes.
Whether working with fresh boneless cuts or pulling portions straight from the freezer, the method requires precise timing and temperature control. Understanding how thickness, starting temperature, and air fryer model variations affect outcomes separates tender results from overcooked disappointment.
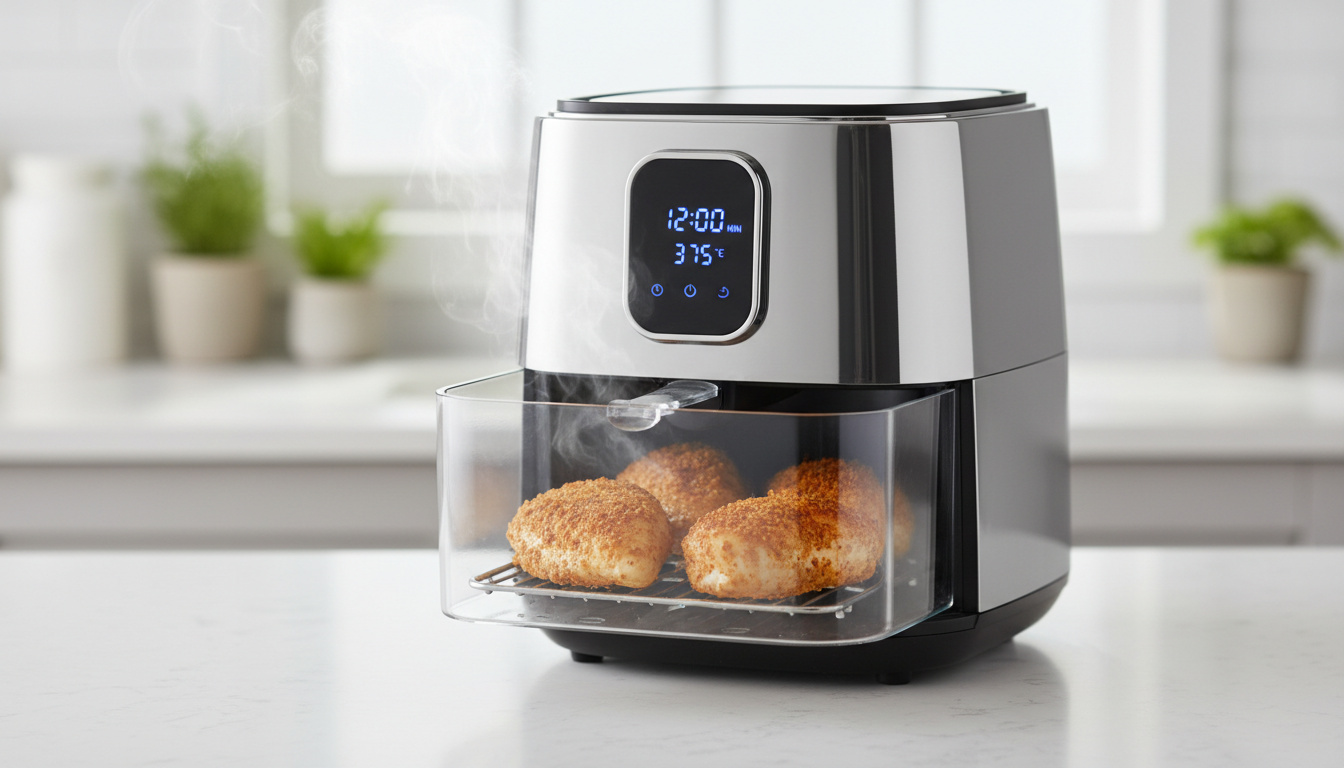
How Long and at What Temperature to Cook Chicken Breast in an Air Fryer?
- Thickness determines exact timing more than weight
- 380°F hits the sweet spot for most boneless cuts
- No flipping required when breasts are evenly sized
- A meat thermometer eliminates guesswork completely
- Resting five minutes under foil is non-negotiable for juiciness
- Frozen portions add roughly four to six minutes to total cook time
- Basket-style and oven-style air fryers vary in airflow patterns
| Breast Size | Thickness | State | Temperature | Time | Notes |
|---|---|---|---|---|---|
| Small | ~1 inch | Fresh | 380°F | 14 min | No flip needed |
| Medium | 2 inches | Fresh | 380-400°F | 16-18 min | Check at 150°F, rest to 165°F |
| Large | 1.5+ inches | Fresh | 360-400°F | 18 min + 9 min | Flip halfway per expert testing |
| Standard | Varies | Fresh (with sides) | 360°F | 9 min per side | Brussels sprouts or similar |
| Standard | 2 inches | Frozen | 360-400°F | 18-22 min | Breast side down, baste occasionally |
| Breaded | Thin/tenderized | Frozen | 400°F | 12-15 min | Flip halfway, often pre-cooked |
How to Make Juicy Chicken Breast in an Air Fryer
Achieving tender, moist results depends on preparation techniques before the meat ever touches the basket. The Basic Air Fryer Chicken Breast Recipe (Fresh Boneless Skinless) emphasizes that even thickness and proper resting matter more than marinades or brines.
Preheat and Oil Tips
While preheating remains optional for fresh chicken, applying 1–2 teaspoons of avocado or olive oil creates the necessary surface contact for browning. Excess oil creates sogginess; too little prevents the Maillard reaction that delivers flavor.
Removing chicken at 150°F internal temperature and resting it under foil for five minutes allows carryover cooking to reach the USDA-recommended 165°F while preventing moisture loss. Cutting immediately releases juices and dries the meat.
Seasoning Ideas
A proven blend combines ½ teaspoon each of salt, pepper, and smoked paprika with 1 teaspoon each of garlic powder, onion powder, and oregano. Press these seasonings firmly into the meat surface before applying oil to ensure adhesion during the convection process.
Do You Need to Preheat and What’s the Safe Internal Temperature?
Preheating to 400°F for five minutes proves beneficial when cooking frozen or breaded products, jumpstarting the surface heat for better texture. For fresh boneless breasts, starting cold adds minimal time and simplifies the process.
Preheating to 400°F for five minutes before adding frozen chicken creates immediate surface heat that jumpstarts the cooking process, reducing overall time and improving texture compared to starting cold.
According to USDA safety guidelines, poultry must reach 165°F internal temperature measured at the thickest portion. Relying on visual cues like color or clear juices risks undercooking; only a calibrated meat thermometer provides certainty.
Cooking Frozen or Boneless Chicken Breast Variations
Frozen boneless breasts cook straight from the freezer without thawing, though timing extends to 18–22 minutes at 360–400°F. Basting occasionally with oil or sauce during the cycle prevents surface desiccation.
Frozen Chicken Breast Instructions
Place frozen breasts breast-side down in a single layer. Specialized frozen methods recommend basting at intervals, while additional frozen guidance confirms that plain frozen cuts cannot be breaded during cooking.
Plain frozen chicken breasts cannot be breaded or stuffed during cooking. For breaded results, use only pre-breaded store-bought products, which require 12–15 minutes at 400°F with a halfway flip.
Step-by-Step Timeline for Perfect Air Fryer Chicken
- Pound to even thickness, rub with 1–2 teaspoons oil, and season generously.
- Place in a single layer in the sprayed basket, ensuring space between pieces for airflow.
- Air fry at 360–400°F depending on thickness and whether starting from fresh or frozen. Visual demonstrations confirm this range works across multiple appliance brands.
- Tent under foil to allow juices to redistribute and internal temperature to reach safe levels.
- Slice against the grain and serve immediately.
Established Facts vs. Variables in Air Fryer Cooking
| Established | Depends on Equipment |
|---|---|
| The USDA mandates 165°F internal temperature for safe poultry consumption | Exact cooking minutes vary by air fryer wattage and basket vs. oven style |
| Resting meat for 5 minutes improves juiciness through moisture redistribution | Whether preheating fresh chicken significantly improves browning |
| Single-layer placement prevents steaming and ensures even cooking | Optimal temperature between 360°F and 400°F for specific models |
| Frozen chicken requires 18–22 minutes at high heat | Pre-breaded frozen products often come pre-cooked and only need reheating |
Why Air Frying Outperforms Traditional Methods
Convection technology circulates hot air rapidly around the protein, creating Maillard reaction browning without submerging the meat in oil. This method reduces added fat compared to pan-frying while delivering faster results than conventional ovens, which rely on slower radiant heat.
The compact chamber concentrates heat efficiently, meaning a chicken breast that might take 30–40 minutes in a standard oven achieves safe internal temperatures in roughly half the time. The result is a lean, high-protein meal with approximately 205 calories per serving when using minimal oil.
Expert Sources and Safety Guidelines
The USDA recommends cooking whole poultry to a safe minimum internal temperature of 165°F as measured with a food thermometer.
Check at 150°F internal, then rest 5 minutes to reach 165°F.
Recipe testing data
What Are the Essential Points for Success?
Mastering chicken breast in an air fryer requires monitoring thickness and internal temperature rather than following rigid timing. For consistently juicy results, cook to 150°F and rest to 165°F, use minimal oil for browning, and avoid crowding the basket. Whether preparing Air Fryer Boneless Chicken Breasts from fresh or frozen, the method delivers lean protein in under twenty minutes when executed with attention to these verified techniques.
Frequently Asked Questions
How to season chicken breast for air fryer?
Pat dry and apply ½ teaspoon each of salt, pepper, and smoked paprika, plus 1 teaspoon each of garlic powder, onion powder, and oregano. Press seasonings into the meat before oiling.
Best oil for air fryer chicken breast?
Avocado or olive oil work best. Use 1–2 teaspoons to coat the breast lightly without creating sogginess. Cooking spray is acceptable for the basket itself.
How to avoid dry chicken breast in air fryer?
Pound to even thickness, do not overcook, verify temperature with a thermometer, and rest under foil for five minutes. Crowding the basket causes uneven cooking and dryness.
Can you stack chicken in an air fryer?
No. Always arrange in a single layer with space between pieces. Stacking blocks airflow and steams the meat rather than crisping it.
How do you reheat air fryer chicken breast?
Reheat at 360–400°F for 4 minutes, or use a lidded pot with a splash of broth to steam. Avoid the oven, which tends to dry out leftover chicken.
Is pounding chicken necessary?
While not mandatory, pounding to 1–1.5 inches ensures even cooking. Uneven thickness results in dry edges and undercooked centers.